Pages

Showing posts with label crafts. Show all posts

Sunday, March 18, 2012

Happy St. Patty's Day

 I love decorating for holidays. I love changing things around and this is such an easy way to do! And pretty cheap because I make a lot of them myself!


 I have made lots of blocks like these before. I don't have a cricut, and don't want to spend the money on one. So I just print off letters from my computer cut them out and use some spray adhesive.

 I love subway art, it's such an easy way to decorate, especially for holiday's that are harder to decorate for. I found this free printable from here


Thanks to Pinterest I found this idea for a fun easy and cheap wreath! All it took was some foam tubing from Home Depot, two colors of tissue paper from the dollar store, some hot glue, and shiny clear spray paint. I found the shamrock in the middle at shopko for 60% off!

Thursday, November 10, 2011

Christmas Keepsake Box

Pinterest has gotten my creative juices flowing, and I just can't stop! I made this little bad boy last night, and it only took like 30 minutes. I hate when crafts or remodels take days, but when there quick and simple and turn out so cute I love it! I've had this box for years I bought it with great intentions and then of course procastinated forever. One of my cousins took a pen to it and scribbled on it, so I figured the best way to cover it would be with paper.
My Supply List:
Box
Mod Podge
Scrapbook Paper
Scissors
Foam Brush
White Craft Paint
Coarse Paint Brush
As you can see I cut the paper to match all of the edges, then applied a thin coat (if you get too much it can warp your paper) of mod podge on the box one section at a time. Apply the paper and push firmly until it stays stuck, make sure you get the corners well, they tend to pull up the most. After you have the box covered, apply another coat of Mod Podge over the paper. It will look milky white at first but it dries clear, and puts a protective cover over the paper. After that dried I didn't like how you could see all the edges and that they didn't match up well so I made it "snow". With a coarse paintbrush dab white paint along the edges, the more un-uniform the better. After a little bit of drying time wa-lah!


Thursday, October 27, 2011

I Love My Days Off

Today was a crafty day (my FAVORITE). I made some cute bows for our canadian Gert and her new baby girl, got half way done painting a dresser, and started to prime our night stands from our bedroom! I can't decide with the night stands though if I should paint them black or white? Our bedspread is mostly black with a white design, and I painted our bed frame white. I think the white would help make the room look brighter, but the black would be more striking. So it may take me a couple of days to finish them if I can't decide soon!


should i paint it black or white?

Tuesday, October 18, 2011

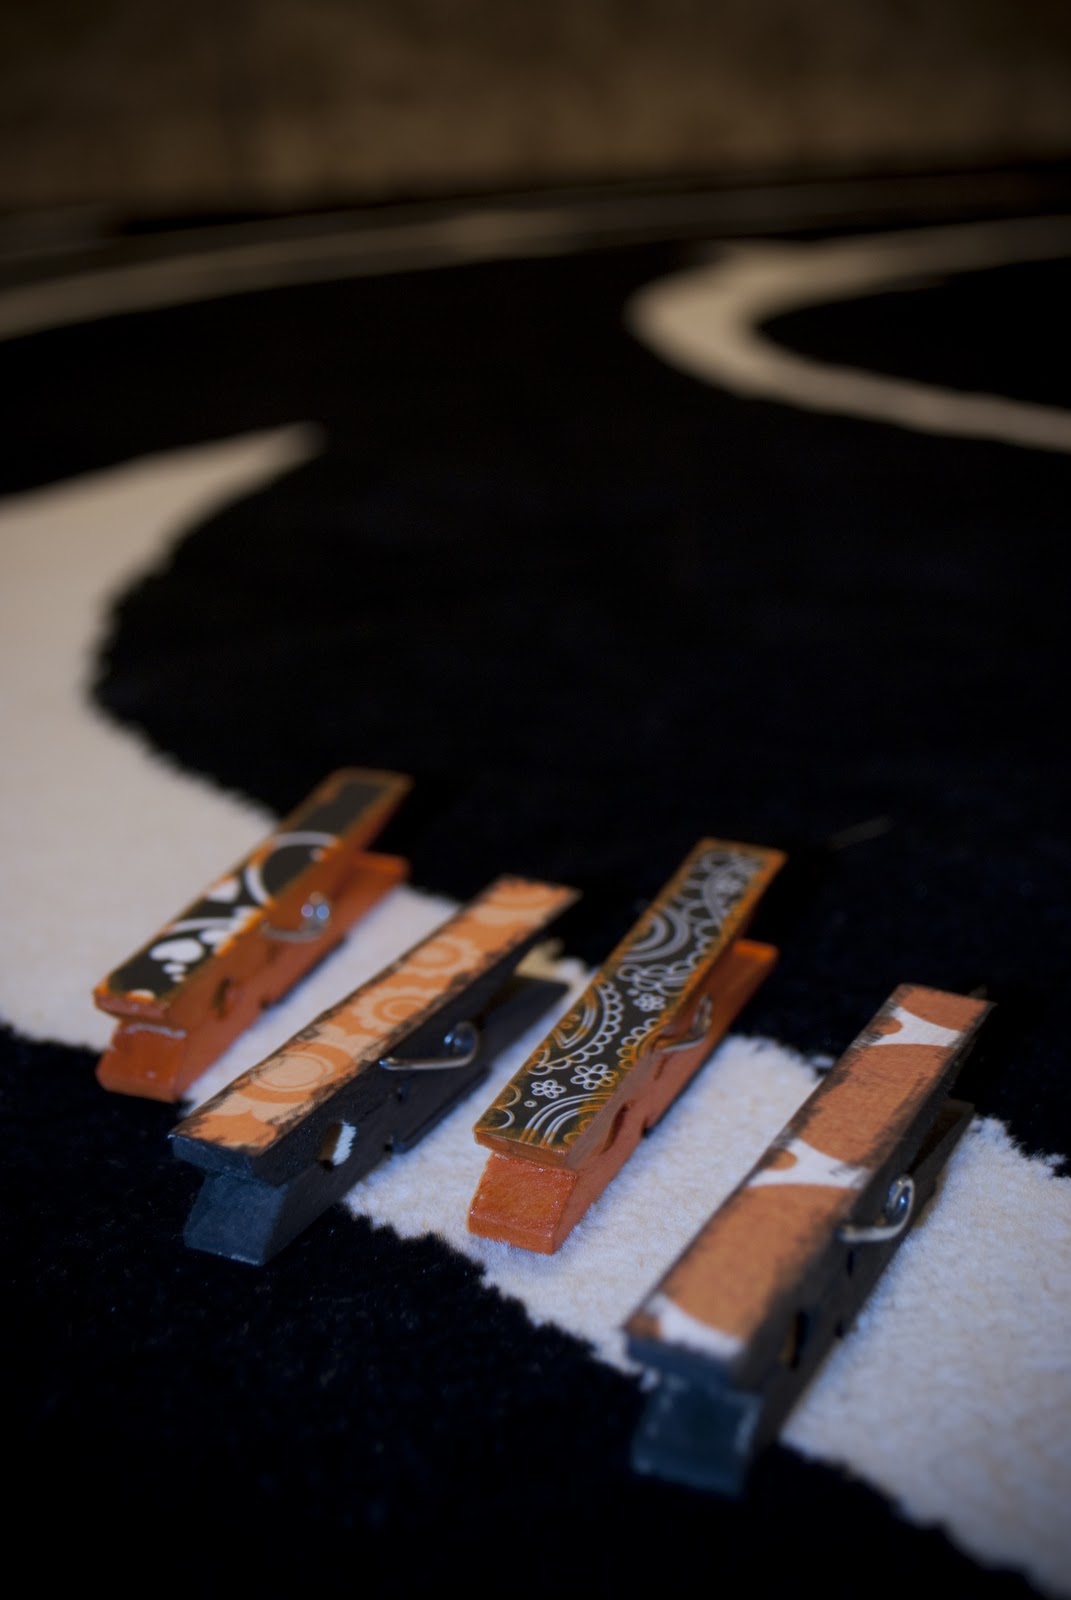
Halloween Clothespins Magnets

Well I joined the rest of the world and started using Pinterest... I LOVE IT! I wish I would have used it when I was planning our wedding, there is so much to find on there. The only problem is I am really bad at having great ideas, and never doing anything about them. So I decided if I'm going to pin all sorts of things that I love, I have to actually do some of them. So...............

I made Halloween magnets! They honestly took about 20 minutes max to do! Just start with a few clothespins, acrylic paint, scrap paper, and mod podge. I painted all of the clothespins except for the front and back. Then cut out strips of papers and used mod podge to adhere them to the pin. Once that is dry apply mod podge ontop of the paper to give it a finished look. I didn't like how it looked with just the straight edges of the paper so I went around the sides with paint to make it all look more connected. I bought magnet tape at walmart (it has adhesive on one side to stick to your object) and just cut a strip into four pieces and stuck it on the back! Easy Peasy, and now after two months of marriage we finnally have magnets for the fridge!